
Following up on my previous post about foundational AI concepts, I’m back with Part 2 of my AI learning journey!
While Part 1 covered how AI works, this post tackles how we can use AI responsibly. A crucial side of AI goes beyond the technical aspects into: governance, ethics, risk management, and ensuring AI benefits everyone.
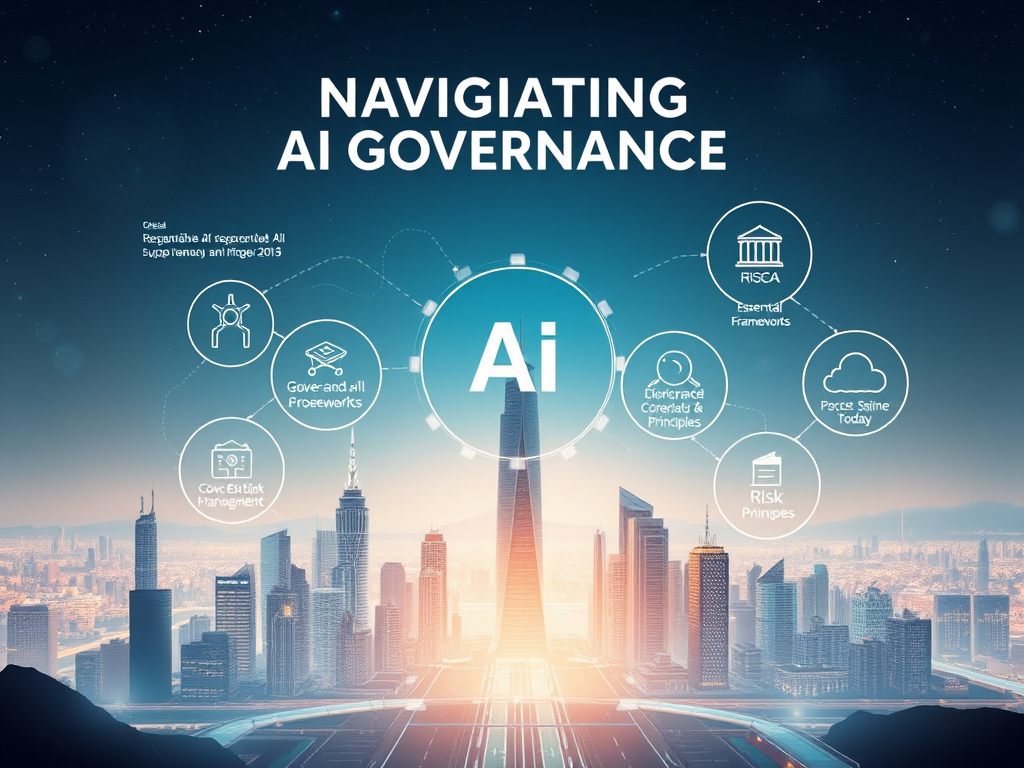
My AI Governance Notes
I’m sharing my notes below to help others navigate AI governance. These break down complex frameworks into digestible insights.
Note: These are personal notes, not comprehensive guides. Use them as a starting point for understanding responsible AI practices.
Key takeaway: AI governance isn’t about slowing innovation. It’s about ensuring innovation benefits everyone.
Frameworks, Standards, & More
- EU AI ACT (risk-based approach)
- Risk Categories
- Prohibited: Social scoring, subliminal manipulation, real-time biometric ID
- High-Risk: Biometric systems, employment, education, law enforcement, healthcare
- Requirements:
- Risk management systems
- Data governance & quality
- Technical documentation
- Human oversight
- Accuracy & robustness
- Conformity assessment & CE marking
- Requirements:
- Limited Risk: Chatbots, deepfakes (transparency required)
- Minimal Risk: Everything else
- Risk Categories
- NIST AI RMF
- Govern: Policies, roles, accountability
- Identify: Context, risks, impacts
- Measure: Testing, evaluation, benchmarks
- Manage: Controls, monitoring, improvements
- GDPR + AI (focus on individual rights)
- Article 22 – Automated Decisions:
- Right NOT to be subject to solely automated decisions
- Right to human intervention
- Right to explanation
- Right to contest
- Article 35 – DPIA Required for:
- High-risk AI processing
- Systematic evaluation
- Large-scale sensitive data processing
- Article 6 – Legal Basis
- Must have valid reason to process
- Consent, Contract, Legal obligation, Vital interests, Public task, Legitimate interests
- Must have valid reason to process
- Article 25 – Privacy by Design
- Build privacy into AI
- Article 22 – Automated Decisions:
AI Lifecycle Phases
- Planning: Define goals, assumptions, stakeholders, governance, context
- Design & Development: Choose architecture, feature selection, bias testing
- Testing: Validate fairness, robustness, simulate deployment
- Deployment: Monitor initial performance, HITL (Human-in-the-Loop) review
- Monitoring: Drift detection, incident response, retraining
Governance Principles
- Transparency – Openness on system operation
- Accountability – Clear responsibility chains
- Privacy & Security – Data protection built-in
- Fairness – Non-discrimination and bias management
- Human Oversight – Human control and intervention
- Reliability – Consistent and robust performance
AI Explainability
- Explainability: Reasons for specific outputs
- Transparency: Openness on system operation
- Interpretability: Human-understandable decision logic
Bias Types & Detection
5 Key Bias Types:
- Data Bias: Biased training datasets
- Label Bias: Incorrect or biased labeling
- Automation Bias: Over-reliance on AI decisions
- Outcome Bias: Discriminatory results
- Confirmation Bias: Seeking confirming evidence
Detection Methods:
- Statistical parity testing
- Equalized odds evaluation
- Demographic parity analysis
- Individual fairness measures
Common AI Governance Roles
- Governance Team: Oversight and policy
- Developer: Design, build, train models
- Validator: Independent testing and validation
- Compliance Officer: Regulatory adherence
- Data Scientist: Data analysis and modeling
- Human Reviewer: Final decision authority
Audit vs Test vs Monitor
- Audit: Post-deployment review (comprehensive assessment)
- Testing: Pre-deployment validation (before going live)
- Monitoring: Continuous ops review (ongoing surveillance)
When Problems Arise
- Bias Detected: Audit first
- Model Performance Declines: Audit first
- Discrimination Complaints: Audit first
Model Documentation Requirements
- Purpose: Why the model was built
- Data Used: Training data sources and characteristics
- Metrics: Performance and fairness measures
- Ethical Concerns: Identified risks and mitigations
- Deployment Context: Where and how it’s used
Risk Management Key Components
- Model Inventory: Catalog of all AI systems
- Tiering: Risk-based classification system
- Controls: Safeguards and mitigations
- Incident Response Plan: Procedures for problems
Human Oversight Levels
Human-in-the-loop: Human makes final decisions. High-stakes decisions.
Human-on-the-loop: Human monitors, can intervene. Medium-risk applications.
Human-out-of-loop: Automated with oversight. Low-risk, high-volume.
Trustworthy AI Characteristics
- Valid & reliable
- Safe, secure & resilient
- Accountable & transparent
- Explainable & interpretable
- Privacy-enhanced
- Fair with managed bias
Disclaimer: AI tools were used to assist with research and drafting portions of this content and study guide.


