
My last blog post was related to setting up Nessus home edition scanner for your lab to do testing. Nessus is properly what I am most familiar with and I like it. I also have some experience using Qualys scanner but it has been couple years since I have used it. However, the scanning technology that I have only heard of but never actually used is Nexpose. So for that reason, I figured I give it a try.
Similar to other commercial scanning technologies, there is a community edition of Nexpose that you can download in your home lab for testing from here.
They have a pretty straightforward user/installation guide here, which I followed in my installation. But just in-case, here is the high-level overview of how I did my setup.
- Selected the VMWare Virtual Appliance option of the Community Edition
- Completed the online forum and received the activation code in the email
- The download contains 1.02GB of .ova file called NexposeVA.ova
- I opened that file using VMWare Workstation
- Please note that by default, it allocates 8GB of memory, 2 processors and 160GB of disk space. So, please modify these settings if you do not have those resources available before you power-on the VM.
- After the VM completely boots, you will login using the following credentials: login: nexpose password: nexpose (please change this)
- If you just want to complete the most basic setup and want to get up and running immediately without messing with any of the advanced configurations or upgrades, the only configuration you need to do is networking. The virtual appliance is set up in bridge mode by default and should be able to get you an IP automatically. But if you need to give it static IP then you will have to do that manually.
- At this point, you are pretty much done with the setup. You will be able to complete the rest of the setup by accessing your Nexpose instance by typing following in your browser: https[:]//[VM-IP-Address]:3780
- The default username for the web interface is: nxadmin and the password is: nxpassword
- After your first login, the initialization process will take some time. For me, it was about 5-7 minutes.
- Like I said earlier, this was my first time using Nexpose so I did not know the exact steps to follow after logging in. But my goal was to run couple different scans against all of my lab machines (14 active IPs). So, without reading the user guide and only spending some time familiarizing myself with the interface, following is the approach I took to setup my scans.
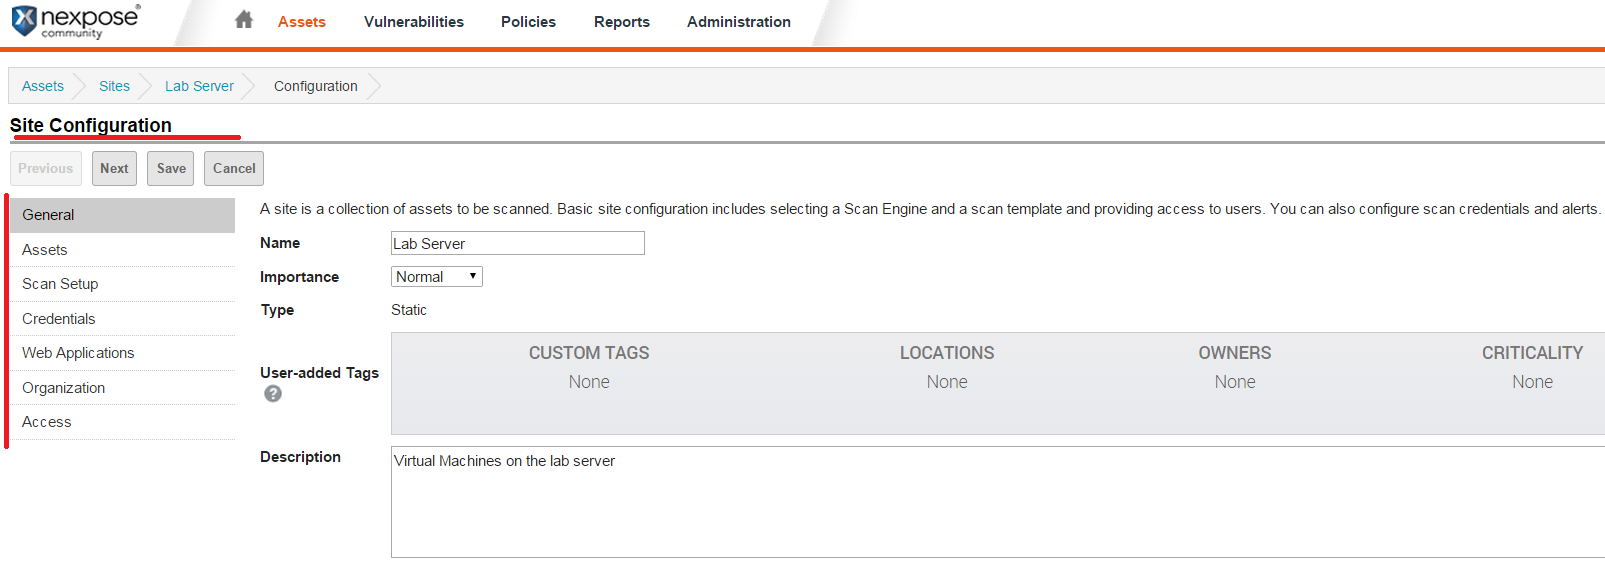
- Create a “New Static Site”
- To me, this is similar to the Organization in Nessus (SecurityCenter)
- Assets: here you provide the name of your site, list all of the IPs (assets) that are part of this site. I added my 14 IPs here.
- Scan Setup: this is where you choose the type of scan. I personally did not like the scan setup option being part of the Site Configuration because each time you need to run a different type of a scan it seems like that you need to go and edit the site.
- Credentials: In the next tab you can provide credentials. I like how it gives you the option to restrict each credential to specific IP.
- Web Application: next there is the option for doing authenticated scans against a web application target. I did not explore this since I don’t have a test web application, yet.
- Organization and Access: these two seem optional: Organization information and the ability to restrict access to this site to selected users.
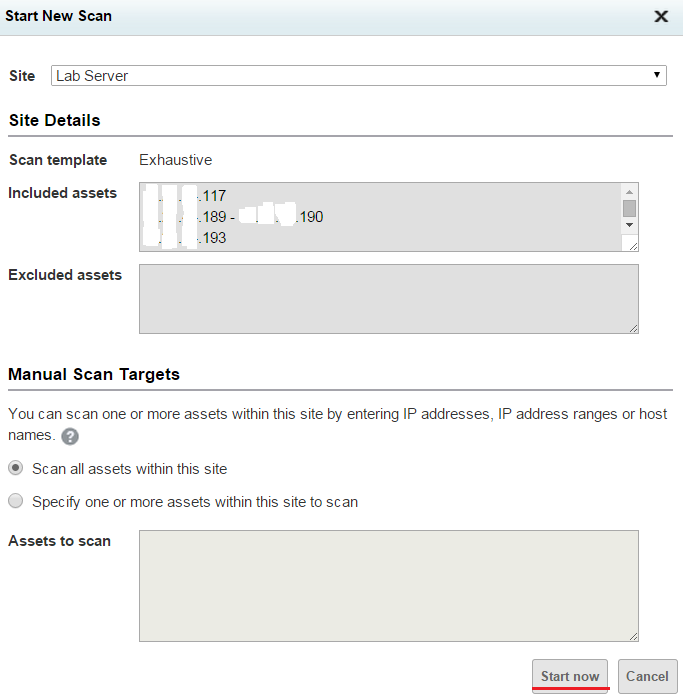
- At this point, you are ready to kick off your scan. Simply go back to your homepage and find the “Scan Now” option towards the middle of the page. A new window will come up and notice where you have the option to change Site; if you have multiple sites. But by default, the site that you created in the previous step should be selected and you should see all of your assets (IPs) listed. And if you want to run the scan against all of those assets you kick it off by clicking “Start Now” but if you want to exclude some IPs or run it against only specific IP you can do that on this same screen.
- In the next screen, you will be able to see the scan progress in real time.
![]()
- You will be able to see the scan results right after the scan completes. The scan results seen below are from a non-credentialed, exhausted scan against my lab machines.

- The screenshot below shows the vulnerabilities tab of the web interface. You will notice the two columns that represent malware and exploit present; right before CVSS and Risk columns. This feature is different from Nessus but I like it. I think the commercial version of Nexpose allows you to take this to the next step and actually run an exploit.

- The last feature that I wanted to explore was reporting. By default, there are several report templates that are available for you to select from:

- By simply selecting the template that you want from above you can choose the file format (PDF, XML, Excel), the scope (individual scan, assets like, from filters) and lastly the report frequency.
- Here is the same report from my lab asset group:

This concludes the basic, quick deployment and walk-through of the commercial Nexpose. By using the virtual appliance option, the deployment is almost effortless. And even after the deployment, setting up assets and kicking off basic scans from templates is straightforward. I will highly recommend to check out this tool and consider adding it to your arsenal!
